

Starting with Path in SwiftUI
And understanding Coordinate Space with Example


Path in SwiftUI is a fun thing to play with. You can draw basically anything within your own coordinate space.
Before diving into Path, let's understand a bit about coordinate space.
Imagine you have a square in graph with x and y coordinates with a specific size of 10. As shown in below image:

The starting point in this square is at (x: 0, y: 0) and the ending point is at (x: 10, y: 10)
The horizontal maximum would be at (x: 10, y: 0) and vertical maximum would be at (x: 0, y: 10)
Now that we have all four edges of square with size 10, the centre of this square should be at (x: 5, y: 5)
Keeping this in mind, Imagine you want to draw the letter T in this square space utilising the maximum space of square available to you.
You can start by adding an overlay from points (x: 0, y: 0) to points (x: 10, y: 0) which makes upper part of letter T .
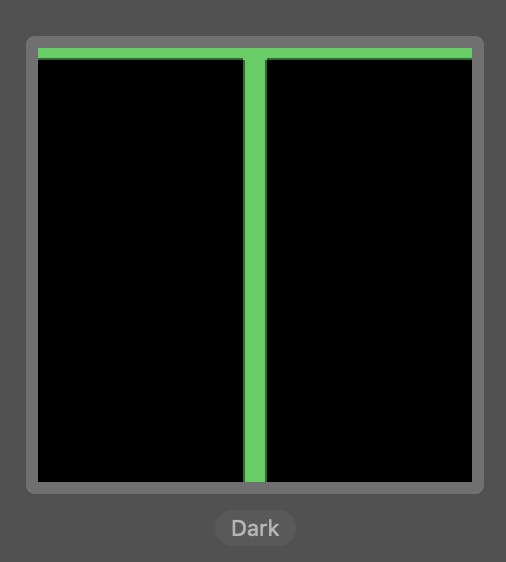
And adding an overlay of vertical line from horizontal centre (x: 5, y: 0) to points (x: 5, y: 10) we get a straight line in the centre of square making the rest of the letter T. As shown in this below image.

Using the above concept of navigating inside a square space. You can draw anything inside it.
Great! Now that you know how to navigate inside a coordinate space, you can get started with code and get your hands dirty.
Let's Explore a simple implementation of Path in SwiftUI. We will use the above example of letter T to begin with.
Create a SwiftUI project or open a new SwiftUI file in an existing one.
We can use GeometryReader to get size of the current view we are operating in.
To use Path in SwiftUI, We simply have to write Path and our Path object is created. Simple Right!
To give colour to our Path we can use .stroke() method to give specific colours (or gradients as well) and width to our path. Refer this code snippet below:
struct Letter_T: View {
    var body: some View {
        GeometryReader { metrics in
            Path { path in
            }
            .stroke(
                Color.green,
                lineWidth: 5.0
            )
        }
    }
}

struct Letter_T_Previews: PreviewProvider {
    static var previews: some View {
        Letter_T()
            .previewLayout(.fixed(width: 100, height: 100))
    }
}
Notice that we are giving fixed width and height to our preview. Now, this will act as a square in our preview.
Now to start drawing in path we have to use move(to: CGPoint()) it is better explained by:
move(to:) method moves the drawing cursor within the bounds of a shape as though an imaginary pen or pencil is hovering over the area, waiting to start drawing.And to define a stop to line to that path we have to use addLine(to: CGPoint()) Using these two methods path will create a straight line between two CGPoints.
Using the same concept as example above lets draw the upper part of letter T using path which would be from upper left of view to upper right of view. The Code should look like this.
Path { path in
// Start of line
path.move(to: CGPoint(x: 0, y: 0))
// End of line
path.addLine(to: CGPoint(x: metrics.size.width, y: 0))
Using Geometry reader we get the maximum width of the view.
Now to draw a straight line from centre of the view, we move to centre and use the same two methods to add a line. Completing our letter T.
Now, the complete code should look like this:
struct Letter_T: View {
    var body: some View {
        GeometryReader { metrics in
            Path { path in
                // Upper Part of Letter T
                path.move(to: CGPoint(x: 0, y: 0))
                path.addLine(to: CGPoint(x: metrics.size.width, y: 0))

                // Line in Center
                path.move(to: CGPoint(x: metrics.size.width / 2, y: 0))
                path.addLine(to: CGPoint(x: metrics.size.width / 2, y: metrics.size.height))
            }
            .stroke(
                Color.green,
                lineWidth: 5.0
            )
        }
    }
}
The preview should look like this:
Great!, You just explored the basic navigation in coordinate space and using path to make a straight line.
Now, as an exercise try to write your own initials using Path in SwiftUI!
If you want to see different implementations of path you can checkout this project:
For exploring more on paths you can visit:
If you want to connect you can reach out to me at: LinkedIn
Thanks for reading, Happy Learning 😄